Setting up Custom Attributes in Drift
Introduction to Data types
In Drift, you can show specific messaging based off attributes of a site visitor.
Examples
- Show a promotional message in the last 5 days of a trial.
- Present a welcome message to your premium users for in-app support.
- Personalize your messaging with custom fields unique to your business.
In order to target these attributes effectively, they need to be represented correctly within Drift.
We have the following data types that allow you to categorize the data you want inside of Drift.
| Data Type | Data Example |
|---|---|
Text | { 'plan_type': 'Trial' } |
Number | { 'trial_length': 30 } |
Boolean | { 'has_premium_features': true } |
Date Time | The date record can be set three different ways: Unix Time Stamp - { 'recent_action': 1539354327946 }JavaScript Date Object - { 'recent_action': new Date() }ISO DateTime String - { 'recent_action': '2018-10-12T14:19:12.816Z' }) |
Setting up new custom attributes
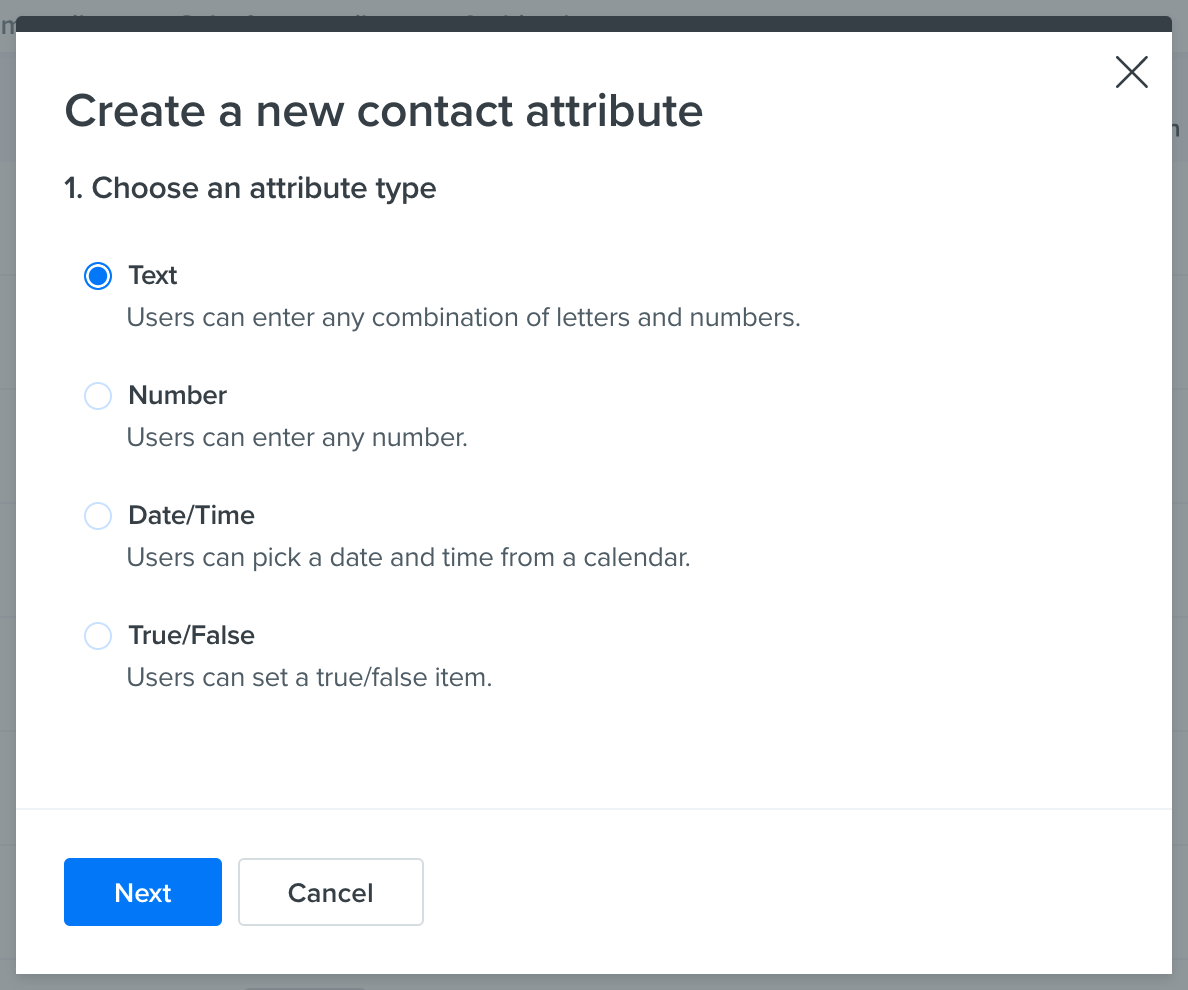
By default, fields within Drift are of text data type. To use one of the other options, create a new attribute and select the data type that you are interested in.
To create and manage contact attributes, you should be an admin user for your account. Navigate to the following page in the Drift UI:
https://app.drift.com/contacts/contact-settings
Select "Create new attribute"

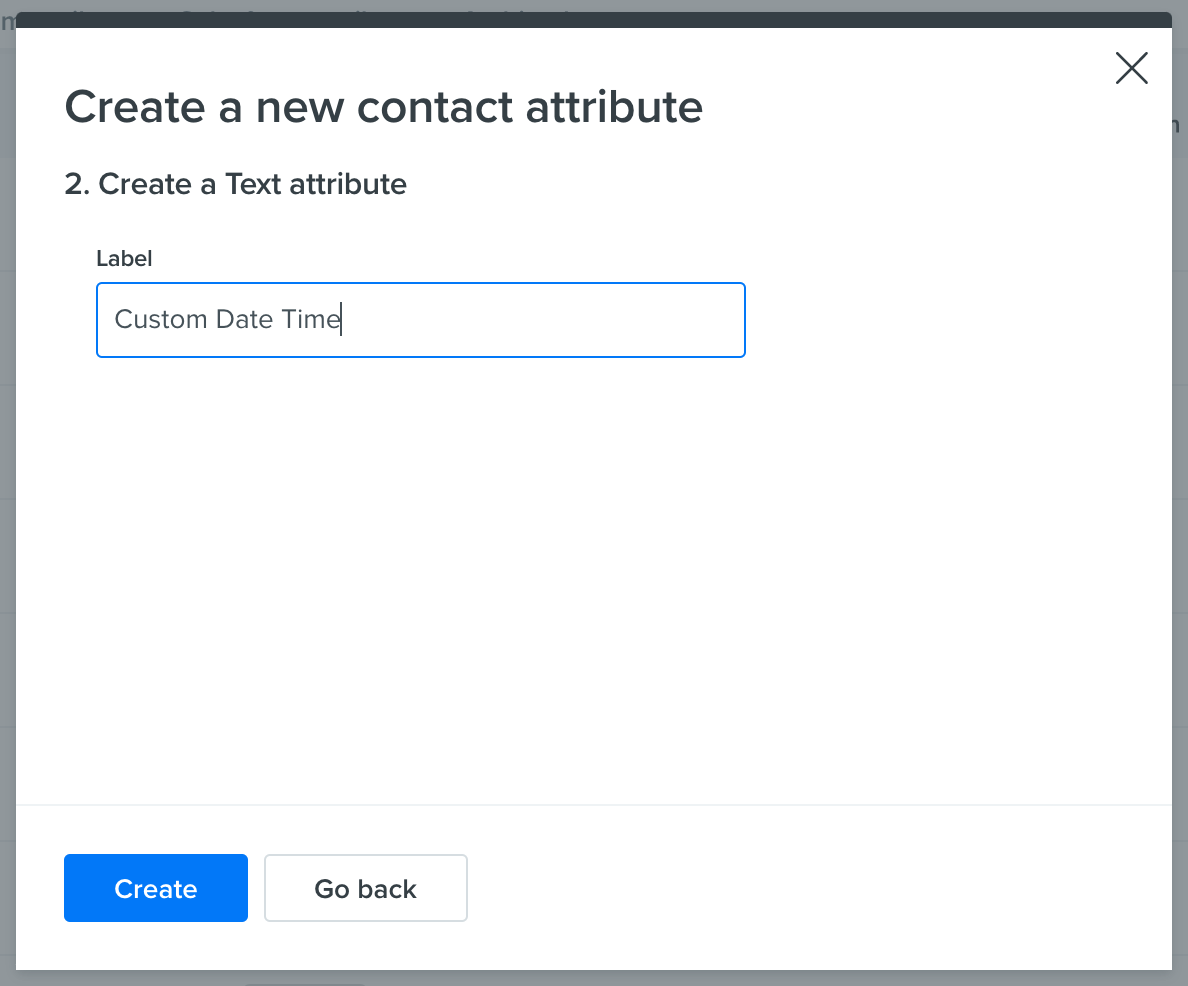
In this example, we are going to create a new attribute that will hold Date-Time information.

Display name vs. Internal name
When referencing the attribute in code, use the developer name for the attribute.
The developer name for this attribute is
custom_date_time, as the rule is:
- all lowercase, with underscores for the spaces.
Next, let's pass a time to Drift in this attribute from the browser!

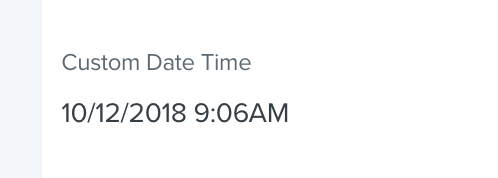
Now, we can see the value populate within Drift on the contact record.

Setting bad values
Note that if you attempt to send an incorrect or invalid value (based on the attribute's current type), the contact update may be ignored.
Updated almost 5 years ago
