Securing Drift on Your Site with Signed Identities
Overview
If you are using drift.identify to identify your logged-in users, signed identities are a way for you to ensure that third parties cannot impersonate them. This requires sending a signed JSON Web Token (JWT) representing the user's identity along with your chosen user identifier. We cannot express enough the need to secure your users as effectively as possible.
To construct the JWT, you'll use a signing key accessible from your app settings. This signing key should be securely stored on your application's backend and kept secret. Because no third party can access your signing key, they will not be able to generate signed identities and thus they will not be able to impersonate your logged-in users in Drift.
Note: If you are not using drift.Identify you do not need to follow the rest of the document here and you do not need to use the secret key. Your instance of Drift is now secure as outlined in this help article based on our recommendations.
Configuration
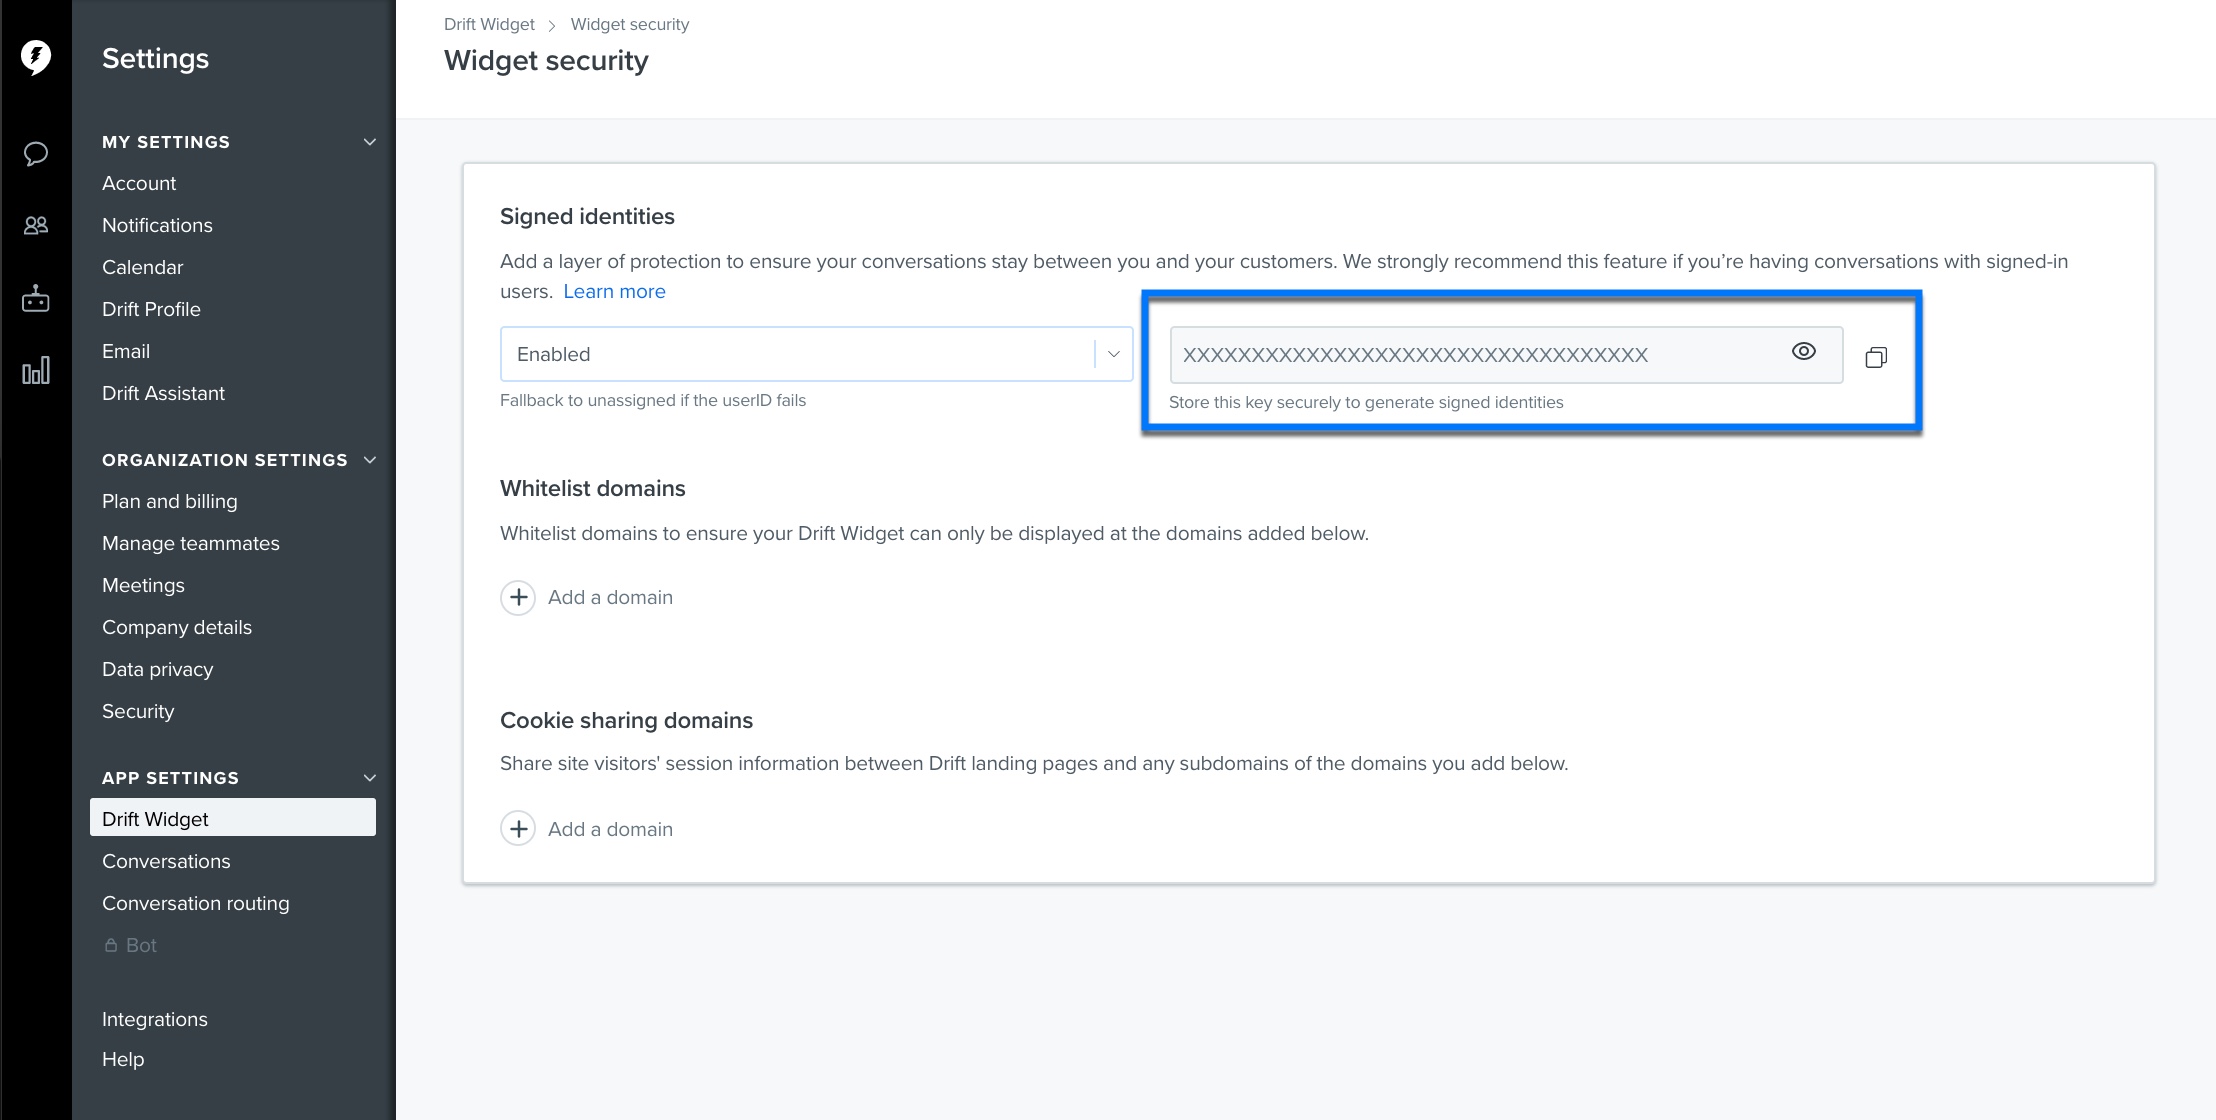
You can find signed identity configuration settings at https://app.drift.com/settings2/widget/security. There are three options for running Signed Identities:
- DISABLED: signed identities will not be consulted during the end user authentication process
- ENABLED: signed identities will be consulted during the end user authentication process, but in the event that a signed identity is invalid/expired, we will fall back to the unsigned identity (this is a useful state for testing purposes but does not offer any additional security)
- REQUIRED: unsigned identities will not be consulted during the end user authentication process
Find your secret key here:

Copy this to a safe place to use in development
Development
Backend
You will need an API that returns user JWT for the logged in user. In this example, we appended a field to our existing user data retrieval call called userJwt:
{
  "id": 12345,
  "name": "Example User",
  "userJwt": "eyJ0eXAiOiJKV1QiLCJhbGciOiJIUzI1NiJ9.eyJzdWIiOiIxMjM0NSJ9.22H1g2b8yxmkcEY1Fhku4AhNl-M40P5Sl_B2ktSUdv8"
}
The only required payload claim is sub and that needs to be set to userId (whatever identifier you were using to identify your site's users in the drift.identify call previously). Optionally you can specify an exp claim to set the expiration time. If you include an exp claim in the JWT, be sure to pass a number value representing epoch time in seconds such as 1687388697. For testing purposes, you can use https://jwt.io/ to generate tokens.
Java documentation for generating JWTs can be found here: https://github.com/auth0/java-jwt
Similar documentation for Node.js can be found here: https://github.com/auth0/node-jsonwebtoken
JWT libraries are available for most standard web frameworks. However, they're ultimately just base64 encoded strings, so you can custom build them if you prefer. We highly recommend using a library. As an example, our Java JWT generation code looks something like this:
public String getJwtFromIdentity(String id) {
    //getSecretKey is responsible for looking up our signing key from our secure secrets store
    String secretKey = getSecretKey();
    JWT.create() //JWT is from auth0's java-jwt library
        .withSubject(id)
        .sign(Algorithm.HMAC256(secretKey));
}
Frontend
Once your frontend has the JWT, it can be used as the third argument in your drift.identify calls, like so:
drift.identify(userId, {}, { userJwt: <your JWT variable> })
Additional Resources
For an overview of implementing drift.identify, check out this guide and this help doc.
Updated about 1 year ago
