Receiving Events locally with ngrok
Receive your first events in less than 5 minutes!
Creating apps on Drift is super easy. You can have bots or webhooks working in no time!
But wouldn't it be great if development could be simplified even more by allowing you to test your requests directly from your machine without constantly redeploying your work to a hosting platform/webserver?
Enter ngrok. This handy tool lets you set up a secure tunnel to your localhost, which is a fancy way of saying it opens access to your local app from the internet.
Here's a quick overview of the tools we'll be using to receive events:
- homebrew
- node (npm)
- ngrok
- this github repo
Getting Set Up
If you don't have homebrew, install that by opening up your terminal and running this line of code at your root
/usr/bin/ruby -e "$(curl -fsSL https://raw.githubusercontent.com/Homebrew/install/master/install)"
Once that's done, you can install node and ngrok.
brew install node
brew install ngrok
if you got an error while installing, you can try
brew cask install ngrok
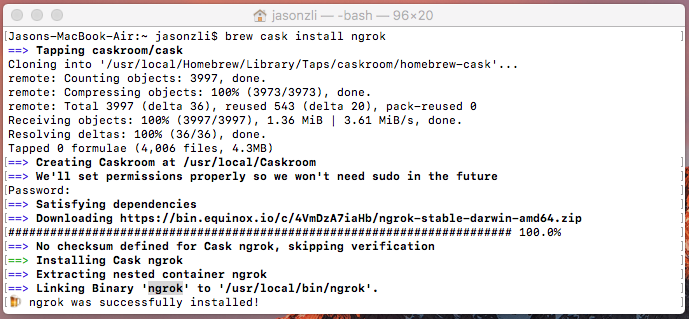
What you should see when your ngrok is successfully installed.
You don't have to use homebrew, but it ensures that ngrok goes directly to your /usr/local/bin path. This lets you call the ngrok command wherever you are in your machine.
The reason we need ngrok is so that we have a public web address for Drift to talk to.
Testing ngrok!
Test your ngrok by running
ngrok http 3000
or
./ngrok http 3000
This means your localhost:3000 is now hooked up to the web address you see below. The one I auto generated is http://ed5b748d.ngrok.io
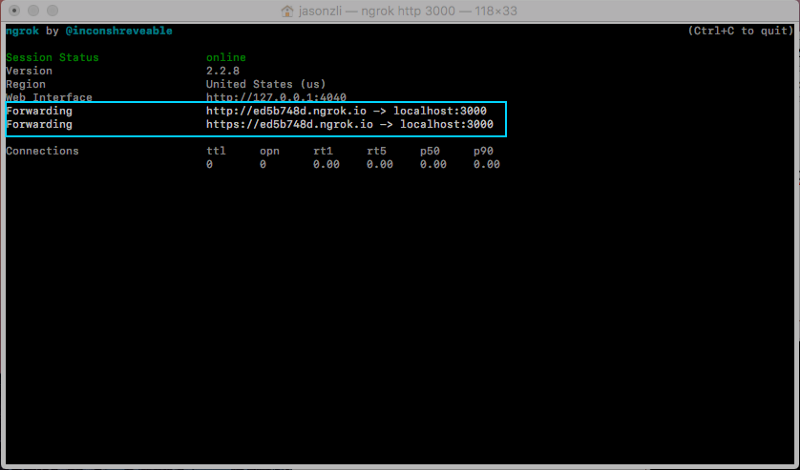
This is your URL. You're going to use it later FYI. If you try going to the actual URL, you’ll see this:
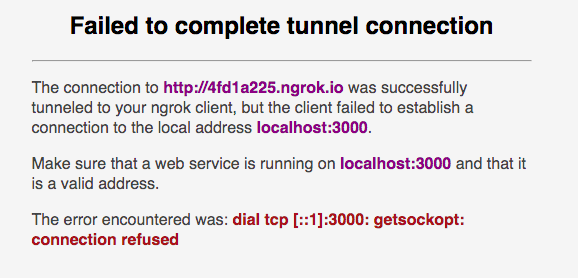
That’s because we don’t currently have anything on our localhost 3000. Let’s fix that.
Keep your ngrok running!
To run the actual app, you'll need to open a new terminal tab or window. Keep this one running!
Creating your app in dev.drift.com
Head over to https://dev.drift.com/apps and Create New App:
You’ll be led to a page with Client ID, secret ID, and your verification token. We won’t worry about these for now.
Head over to OAuth and Scopes and set the Redirect URL to be your public ngrok.io domain.
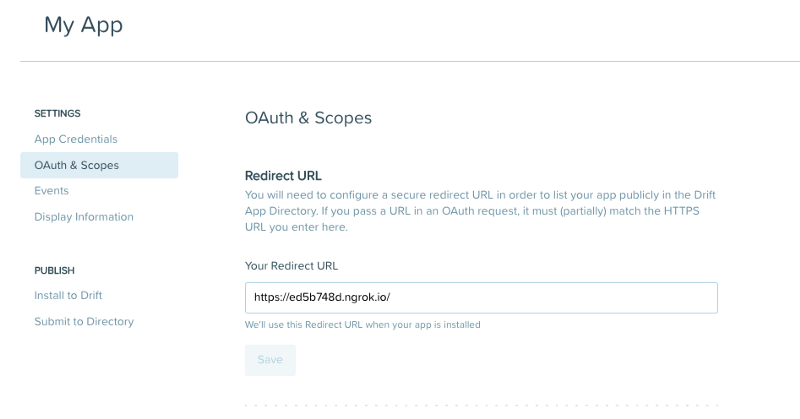
Now set your scopes. I set conversation_read for now.
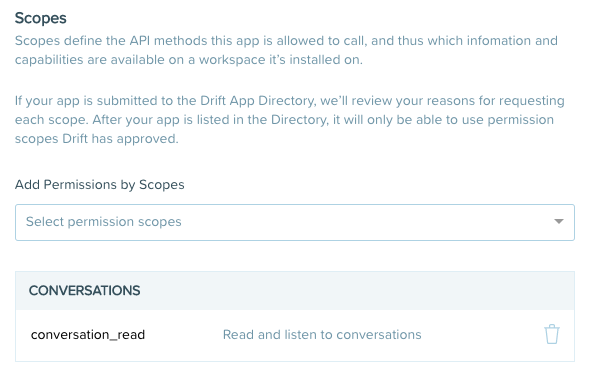
Scopes define the API methods this app is allowed to call, and thus which information and capabilities are available on a workspace it’s installed on.
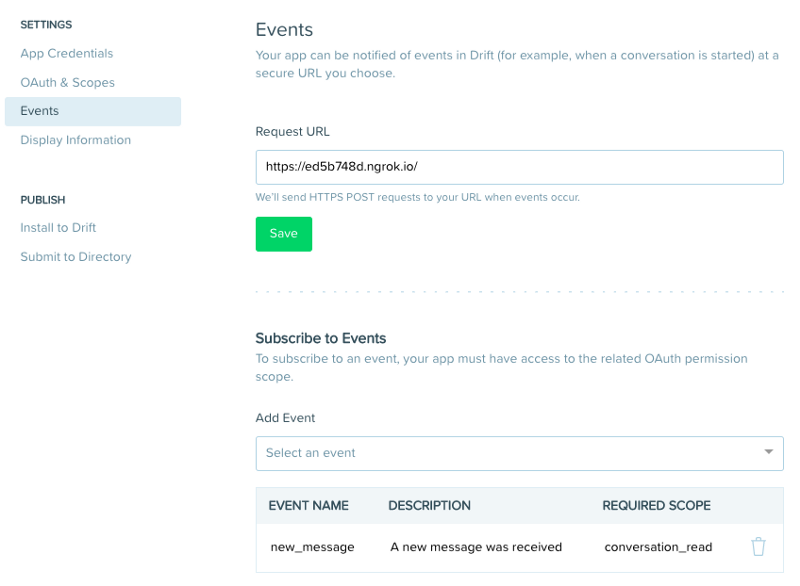
On the Events tab you will need to enter the same ngrok url into the Request URL form and also subscribe to events. We can start with new_message.
On the Display Information tab give your bot a name and logo.
Alright! You’re ready to Install to Drift.
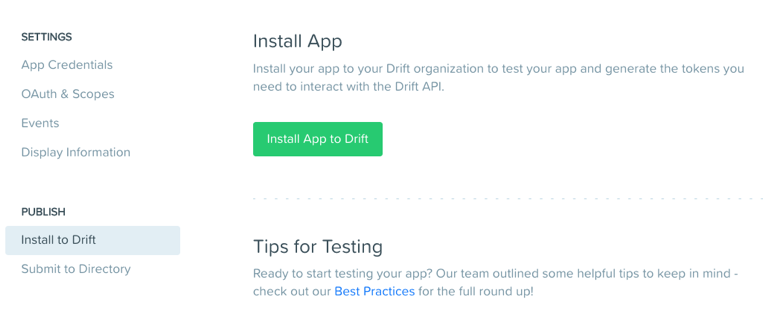
Start receiving events!
OK! Now you’re ready to set up a very simple Node App you can clone here. You can also refer to the code below and write it yourself. It’s super simple other than a few dependencies you should install.
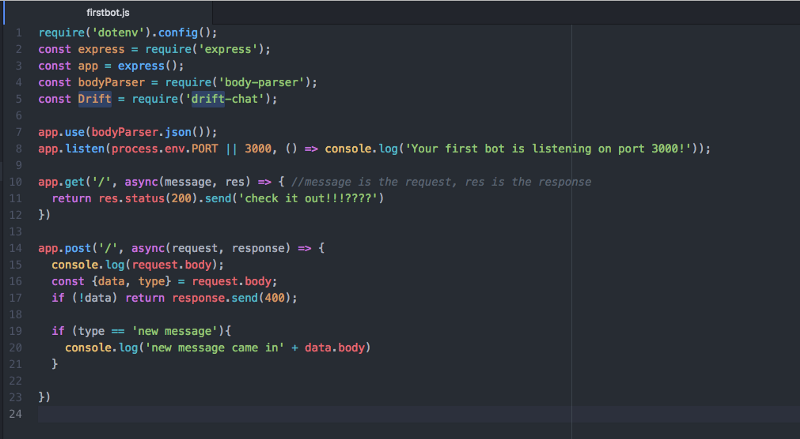
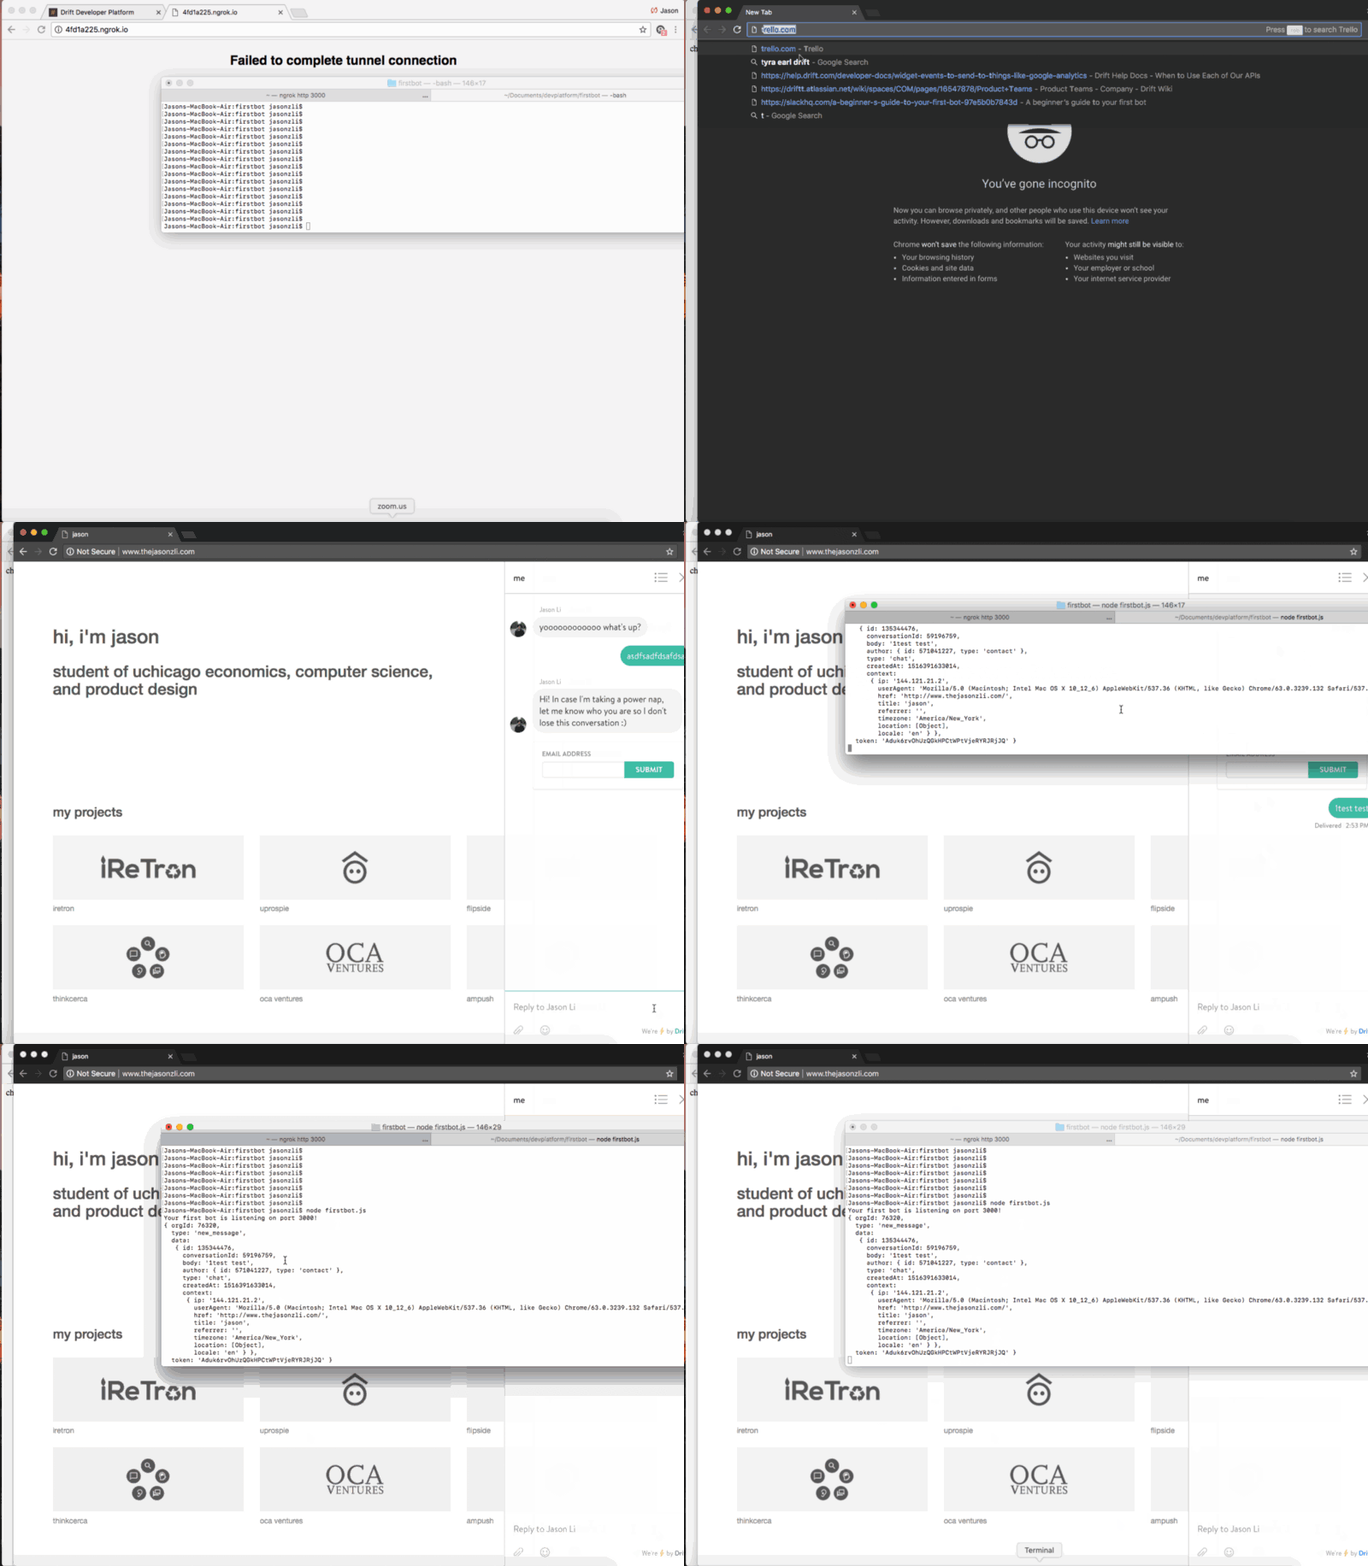
You can see in the gif below as I demo this on my personal site.
- I run
node firstbot.js - I check that it’s live on my ngrok url
- I open a incognito window and go to my personal site where my app is installed via Drift. I then try to chat in.
And money money money look at that event in my terminal.
Updated over 4 years ago
